Requirement to follow the process
- You will need at least one EC2 instance deployed.
- An IAM with CodeDeploy permission. You will also be creating a service role later as we will see.
- You will need a github account with a repository and organization. This is because we will need the organization commit ID. The commit ID is a 40 alphanumeric charaters.
- You will optionally need an S3 bucket too.
STEP 1 IAM Role For CodeDeploy
Navigate to the CodeDeploy service amazon console.
- We will start with creating an IAM service role for CodeDeploy.
- To do this, search for IAM in the search bar
- You should click the Create Role and the select the AWS Service Role option.

- Under Use Case, in the dropdown, you should select CodeDeploy.
- Click Next, and leave the Permission options as default. You can set Permissions Boundary later.
- In the next window, give your role a Name. You should review your settings before clicking Create Role.


STEP 2 Configure the Deployment for CodeDeploy
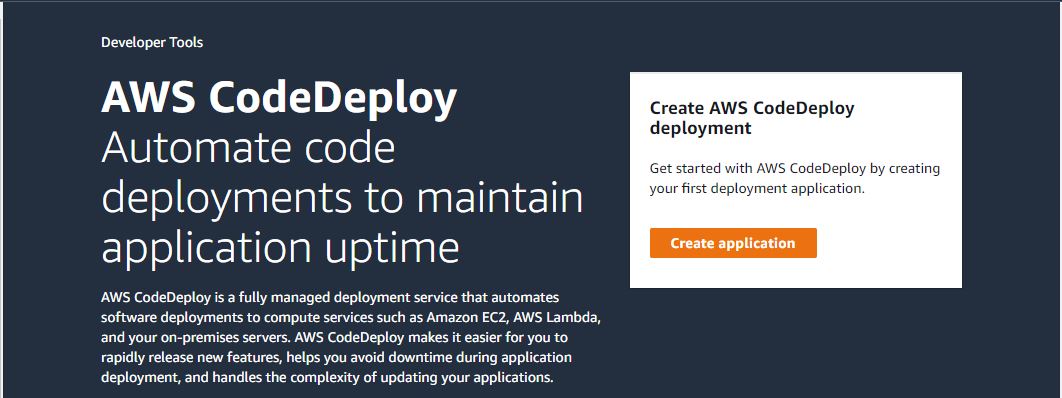
Once the role is created, search for CodeDeploy in your AWS search bar.
You should scroll to the Deploy (CodeDeploy) options, afterwards, you should click the dropdown menu to reveal getting started.
In the next window, enter the Application Name and preferred compute platform. In this case, we use EC2/On-premise. You can proceed to click the orange Create Application button.

Step 3 Create Deployment Group for CodeDeploy
- Once that is done, in the window that appeared, choose the Create Deployment Group.
- Then, you enter the Deployment group name. It can be any name to identify your CodeDeploy application.
- Move to the service role, click the box to link the CodeDeploy IAM role created in first step.
- You have selected the role, you would choose a Deployment Type.
In-place will do a direct update to an existing install and that could cause a few seconds of app downtime.
Blue/Green will replace the instance in the Deployment Group with the updated application and that means No downtime. - Next, select the environment you will be deploying. A combination of EC2 and Autoscaling group make up most use cases, so, we will be using that here.
- Once you tick an environemt, you get more option to select the target machines based on their tags. You should ensure your instances are well tagged, this can be either key tags or name tag or environment tags.
Once you ascertain that, Click on the boxes to select options of the machines you will deploy to from dropdown.

- In the Agent configuration with AWS System Manager, select AllAtOnce. Ensure you have Systems Manager Installed. See how to install SSM agent.
- Leave Deployment settings as default
- Enable the load balance. Optional.

- Create a TRIGGER. This is an SNS notification to inform user of the deployment state. See how to create sns notification in 3 steps.
- Click Add Alarm to select from an existing one. You must first create an alarm in Amazon CloudWatch.
- Uncheck the Disable rollbacks. Then check the Rollback when deployment fails.
- Give a tag to your deployment group.

- Click Create Deployment.
- Once your Deployment Group is created.
- In the next window click Create Deployment.

Your Deployment Group should autofill in the next window.
STEP 4 Connect Your CodeDeploy to GitHub
Now that you have configured your CodeDeploy, it is time to link it to your source code.
In Revision Type, select the location of the source code.
There could be situation where your source code is stored in an S3 bucket, then, select My Application is Stored in Amazon S3. Then provide the S3 url or arn.
- FOR GITHUB, select My Application is Stored in GitHub.
- In the GitHub Token Name, as a new connection, provide a name in the search box. Hit Enter. The greyed out Connect To GitHub will now be accessible.
- Click the
Connect To GitHub. And follow the prompt to select your GitHub repository that contains your source code. - In the Repository Name, supply your organization and repository name in the format
Organization/RepositoryNamee.g DemoOxlaOrganization/DemoRepository - Supply your Commit ID. To get this, got to your GitHub commit history. Copy out the 40 character alpha-numeric string. Or just click the
copy sha. - In the next option, choose Fail the Deployment.
- Leave the deployment
Group Overrideas default. - Leave the
Rollback Configurationas default.
7.Click Create Deployment. Wait for your CodeDeploy application to be deployed to your instance.
And there you have it, you have successfully deploy your application using code deploy and connecting it to GitHub.
If you have enjoyed this walk-through, kindly share with your network. It is free. Also, use the comment section for any questions.

Leave a Reply